One of the most surprising parts of creating a course is how time consuming it is to create high quality multimedia.
From working on thousands of courses over the last 10 years, I've learned a lot of techniques to make media production much simpler and more efficient.
I want to share six techniques that will save you dozens of hours during post-production.
1. Record short clips ⏱️
The smaller the unit of content, the easier it is to create, edit, and maintain. Courses organized around shorter clips (<5 mins) are also better for student engagement. Don't leave the camera rolling for take after take and try to do an entire lesson in one go. Instead focus on composing each individual 3-5 minute video clip.
2. Speak in short sentences 💬
Long, complex sentences are harder to say than to write. If you're scripting, watch out for sentences with many commas and clauses. And if you're not scripting, focus on brevity.
3. Record complete sentences 🎥
During editing, you'll find it's much easier to stitch together complete sentences than fragments of a single sentence. When you make a mistake and need to retake narration, stop talking, take a few deep breaths, gather your thoughts, and then resume back at the start of the last complete sentence.
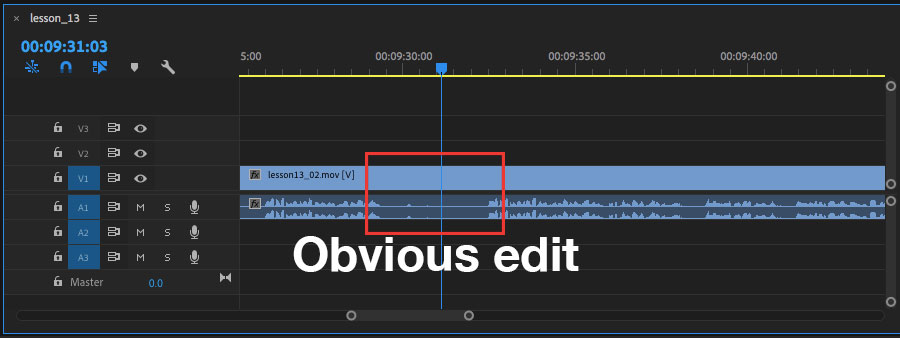
During post, you'll be able to quickly scan for these edits, spotting the long blank spaces in the audio waveform. And in most cases, you'll be able to cut on the frame immediately before you take a breath to start your sentence, and the resulting edit will be fluid.
4. Use a slate and production log 🎬
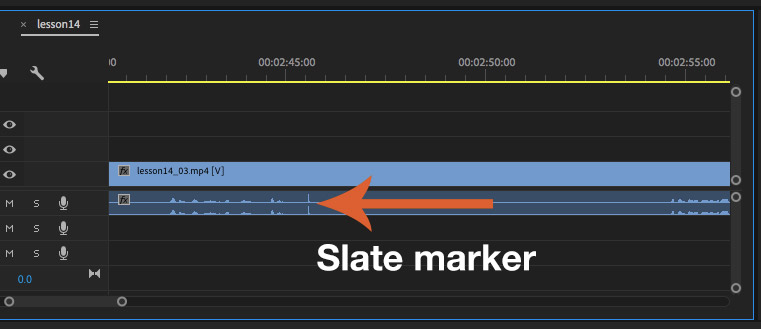
Hollywood uses a slate marker when recording to synchronize their audio and video, and to quickly reference what's in the clip during post-production. The same principle applies when making a course. Start every take with a verbal slate - announce the clip title and then clap your hands.
Also, keep a production log with information about your clips. It doesn't have to be fancy - a simple word doc or spreadsheet will do. Take notes when you finish recording. What is the file name? What did you cover in the clip? Was it a good take? Did you restart a certain section?
This may seem like a lot of work up front, but it will save you time in post-production. You'll be able to assemble a rough cut much more rapidly.
Your production log will tell you which clips and takes were keepers. The slate marker (hand clap) is an obvious peak on the audio waveform, which will help you quickly visually spot where takes begin and end.
5. Limit on-camera presentation 🗣
Presenting on camera can be challenging, especially when you're first starting out. Unless you already have experience and training, it will take some work to get good on camera. And on-screen presence is a small component of course quality, yet it can become an obsession and a giant time sink, both to produce and to edit.
My advice: focus on maximizing quality in other areas. Unless you absolutely require camera video for demonstrations, leverage screen capture video with voiceover.
Once you're into the thick of lesson content, the explanations, examples, and demos, it's arguably more effective to use slides or to show your screen than to appear on camera as a talking head.
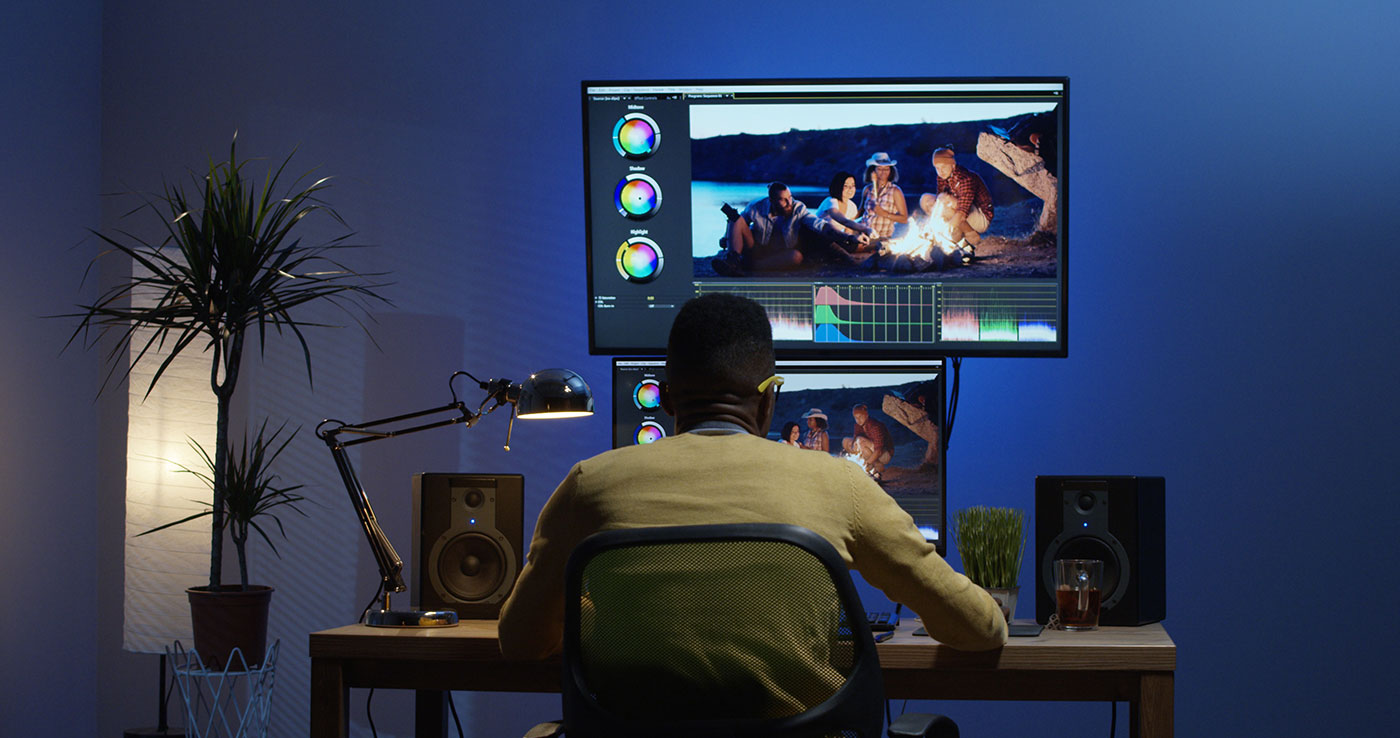
Consider this example, from a strategy course by Prof. Scott Galloway. Which part of the screen draws your attention?

Prof G. has tremendous on-screen presence. But your eyes are probably drawn to the callout beside him illustrating a brand-building funnel. He's actually competing with valuable visual information in this moment. A full-screen slide would better convey the information - there's no need to have the presenter on-screen.
Besides being easier to create, screen capture video is easier to maintain and update after publication. Consider the case where you learn some information in your course is outdated. If the clip in question involves talking head video, you have to re-record on camera narration, meaning you have to recreate the original recording setup, including your wardrobe, in order to make in-place edits. With screen capture video, you have the option of changing either the narration or just the visuals, depending on what needs to be fixed, with less dependence on factors like what you're wearing or what your recording environment looks like.
In order to develop your on-camera presentation skills, try recording lesson introductions and conclusions.
6. Understand your verbal tics 🤔
We all have verbal tics. "Ums" and "uhs," crutch phrases (e.g. "like"), and catch phrases. The normal things that you and I say all the time and don't even realize. One of my catch phrases is "I recommend." I apparently love making recommendations to my students.
You won't enjoy listening to yourself for hours on end during postproduction. You'll discover all the verbal tics that make you unique, and they're going to annoy you. You're going to annoy you. But there's no way around it. You need to be aware of how you sound to your students, and you need to make notes on how you can improve.
- At the beginning of your course, record a few short production samples. Very short, less than 5 minutes each. But make sure the content is substantive - teach an actual concept, don't just record yourself reading the news.
- Then listen back to the content and make notes. What do you find yourself saying a lot? What crutch phrases or catch phrases do you use? How many um's and uh's are there? And if you're scripting, does it sound a bit too much like you're reading? Put yourself in the place of your students. Will these tics distract students from learning?
- Prioritize a few ways you can improve. And practice. In my experience, it takes most authors the majority of their first course to find their voice. If you can get a few practice rounds in before going all in on recording, your content will be much closer to where you want it to be.
However, as you're going through this exercise, cut yourself some slack. A conversational tone and cadence is the goal. A few um's and uh's every so often, some pauses - they're okay. They're natural. Your students will forgive a few flaws.
There's a line, though, where these tics start to become distracting. So if you find yourself struggling to record complete thoughts, with a lot of umms and uhs, consider scripting your voiceovers.
🥇 A bonus technique I used creating The Awesome Courses Bootcamp
I recorded full run-throughs of my lessons, quickly stitched together the clips into a timeline, and then used Amazon Transcribe to create transcription files. I then polished up the text files into final versions of my scripts.
The difference was profound. My content is much more concise, I have fewer rambling sections of narration, and I eliminated quite a few annoyances (limiting the number of recommendations 😂).