You've decided to create an online course, and are wondering how to get started. Specifically, how to get started recording video content. You might be asking, "what equipment do I need to start creating online courses?" "How much will all of this cost?" "Can I just use equipment I already have, like my headphones, webcam and QuickTime?"
I've helped hundreds of authors get started making courses, and everyone starts with similar questions. And this post will guide you through a few equipment packages that many creators have used to author their courses, and which I have used in creating content.
Some good news. With podcasting, Edutubers, and online courses booming, there are quite a few high quality, inexpensive equipment options. But with that boom comes higher expectations from audiences.
Before setting out to purchase equipment, consider:
- What kind of course are you going to make? What's the best way to teach your target audience new skills, so they come away able to do something new?
- What expectations does your audience have regarding production quality and talking head video? Will they expect to see you present on camera, or are they fine with only seeing your screen and hearing you via voiceover?
- How many videos do you plan to make, including for courses? Do you plan to regularly create videos for marketing purposes?
Answering these questions will help you decide what level of investment to make in equipment. Consider those, and then proceed with the guide.
Why You Can Trust Me
At Pluralsight, my team was tasked with ensuring quality for over 3,000 hours of course content annually for five years, produced by over 700 different authors recording remotely. Maintaining consistent levels of quality across so many different producers in different locations meant we needed to understand all of the variables thoroughly, and devise solutions that could fit any recording environment.
My team and I went through extensive research and testing to arrive at a few standard recommended audio and video production packages for our authors.
My experience at Pluralsight is paired with my own experience building a studio in my home and recording content for my Awesome Courses Bootcamp and the Curricular site.
Note: This page contains some affiliate links, meaning if you click through and purchase products I've recommended, I will make some money from the sale. I vouch completely for the products listed below, and have not been paid to promote them.
Best Equipment for Recording Tutorials and Podcasting
You need the following:
- Screencasting software
- Microphone
- XLR to USB audio interface
- Accessories
- mic stand, boom, and shock mount
- pop filter
- XLR cable
Screencasting Software
PC Users
Camtasia ($129) - Camtasia has been standard issue at Pluralsight and other online training platforms for years. It provides everything you need to make high quality screen capture videos, from recording to editing.
OBS - Open Broadcaster Software (Free) - A free, open-source screen recording and livestreaming solution. The legendary online course CS50 uses OBS. I've used it and found it a workable solution, with a surprising amount of features, from multiple source configuration / live switching to remuxing captures to MP4. Not quite as intuitive as Camtasia, and I'd recommend using Adobe Premiere Pro for post-production when recording with OBS, but OBS is easily the best free solution I've used for screen recording.
Mac Users
Screenflow ($129) - We used Screenflow extensively at Pluralsight and Udacity with authors recording on Mac. In my experience, Screenflow is superior to Camtasia for Mac. Better controls, fewer crashes, support for recording in MP4. As with Camtasia, Screenflow includes tools for basic video editing.
OBS - Open Broadcaster Software (Free) - see notes above.
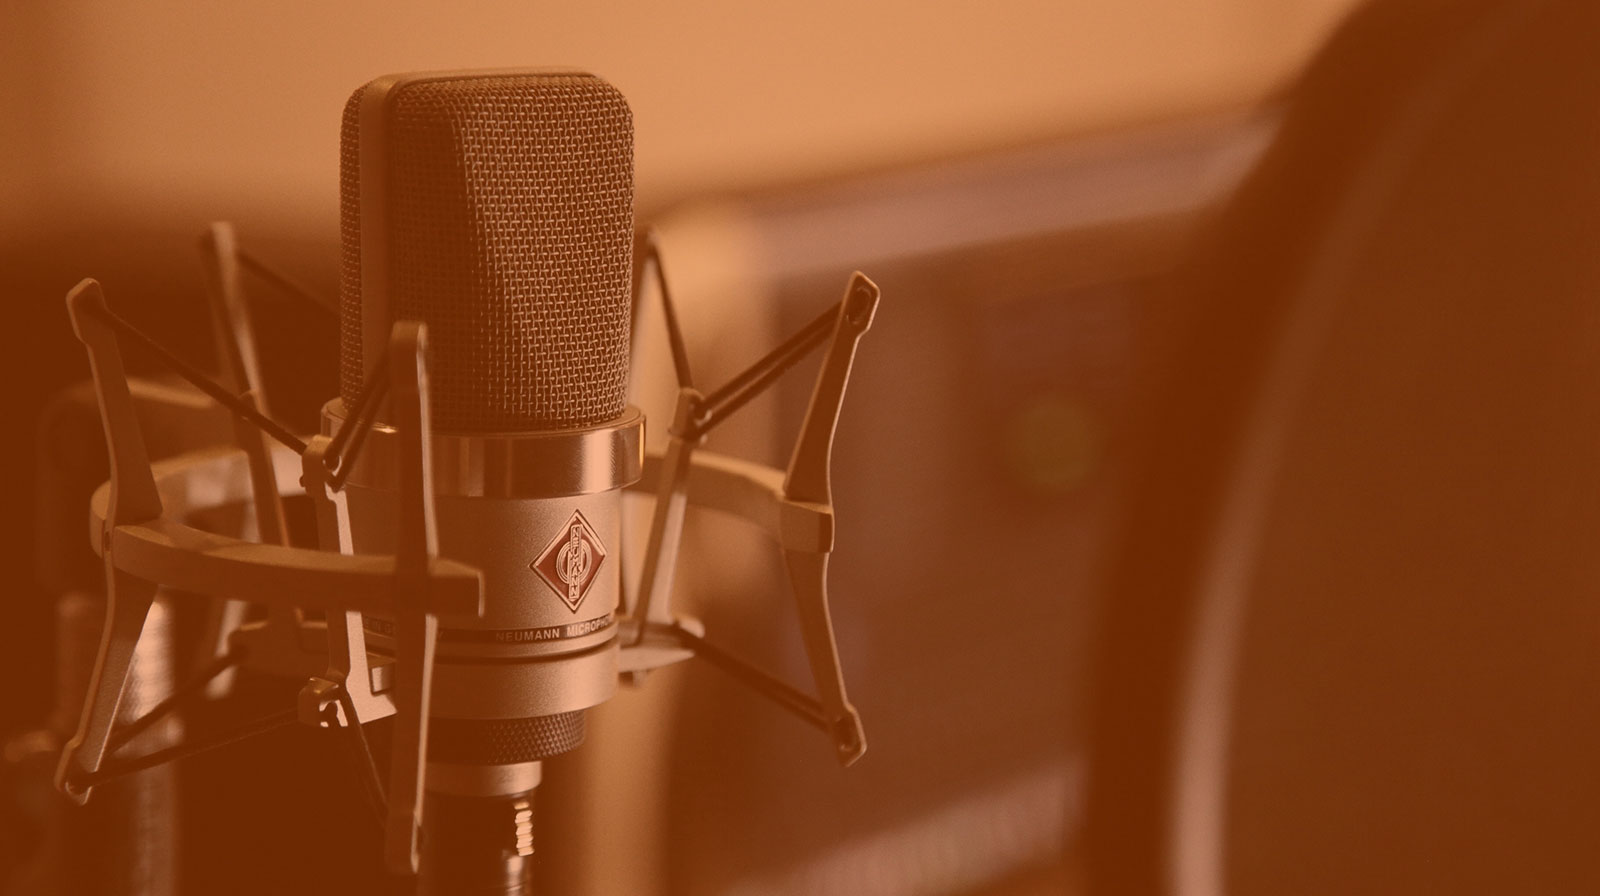
Microphone
Audio-Technica AT2020 Cardioid Condenser Studio XLR Microphone ($99) - The AT2020 has been the go-to recommendation for Pluralsight authors for years. Solid performance at a reasonable price. In fact, it's become such a popular mic, it can be hard to find in stock, particularly at list price.
MXL 770 Large-Diaphragm Condenser Microphone ($103.99) - Solid microphone. More widely available than the AT2020. My Pluralsight audio expert gave it a raving endorsement.
- Note: If you choose the MXL, this package includes a Pop filter, mic stand with boom, and XLR cable, so you only need purchase the Scarlett Solo USB interface separately.
RØDE NT1-A Large Diaphragm Condenser Microphone ($229). Rode is definitely a step up in terms of quality from the starter level mics, with heightened clarity and signal. At Pluralsight, we recommended this mic to authors who were moving towards creating content full time. I echo that recommendation: if a significant portion of your business will revolve around content creation, strongly consider upgrading to this mic and its accessories. B&H Photo sells packages with most of the accessories listed below or workable alternatives.
- Note: With the NT1-A, use the RØDE SM6 shock mount with integrated pop filter ($59). This shock mount is specifically designed to fit the NT1-A.
XLR to USB Audio Interface
Scarlett Solo USB interface ($119) - this converts the XLR audio signal to USB. Most of the solid options will cost about $90-$120. The Scarlett Solo is the most reliably in-stock option.
Audio Accessories
Microphone Stand & Shock Mount
Samson MBA38 - This stand will clamp onto your desk and provide a lot of flexibility to position your mic properly, within 6 inches of your mouth while speaking. It's a sturdy and flexible stand that comes at a reasonable price.
RØDE PSA 1 Swivel Mount Studio Microphone Boom Arm ($99) - A heavy duty boom arm designed to mount on your desk. A good choice if you're going with the Rode NT1-A microphone.
Samson Spider Shock Mount - The shock mount will prevent your typing from making noise against the mic, since the stand is mounted on your desk.
Cables
XLR cable - You'll need this cable to connect your microphone to your audio interface.
Pop Filter
Pop filter - Pop filters help reduce the harshness of hard consonants, particularly P's on the audio track.
Note: Avoid recording with headphones or a headset mic. My teams have tested numerous headset mics, and we even used them for years (through 2014) at Pluralsight. The audio quality from a studio condenser mic is significantly better than that captured by headset mics. The microphones built into headphones generally are optimized for reducing noise around your audio, for purposes of phone calls or conference calls. You want a more balanced range in your audio signal for a truer sound.
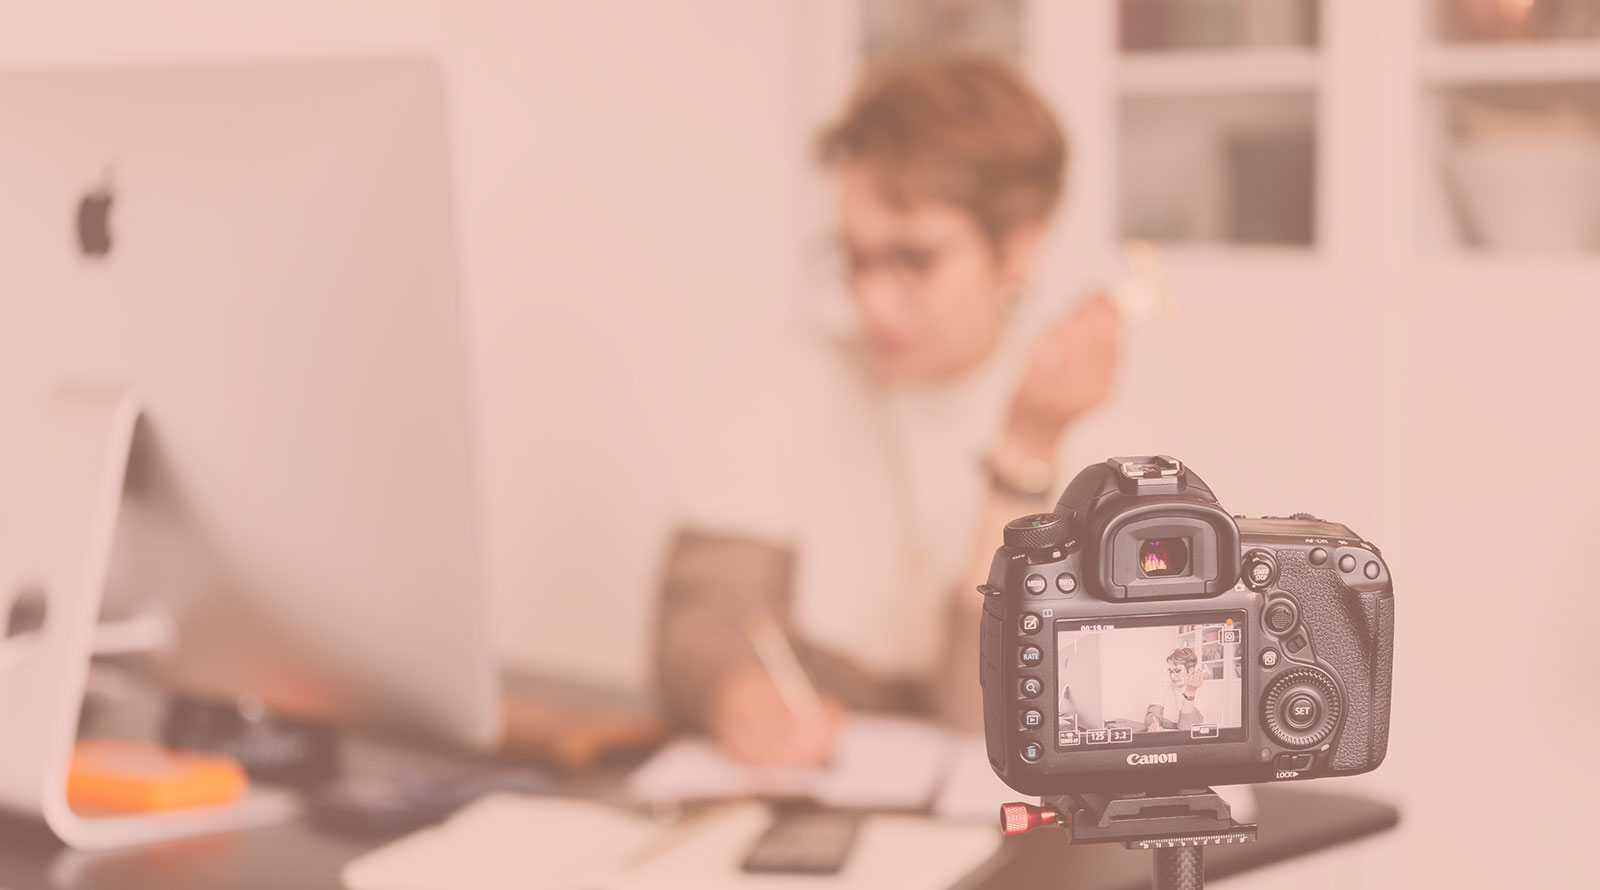
Best Equipment for On-camera Presentation (aka Talking Head Video)
You need the following equipment:
- Audio equipment package (listed above)
- Video editing software
- HD video camera
- Accessories
- Tripod
- Lights
- Media storage drives (cards and external SSD)
- Backup battery
Video Editing Software
Adobe Premiere Pro (cost varies by subscription level) - Premiere Pro is the de facto standard for video editing. It's fairly straightforward to use, yet powerful enough to handle 4K video and make fine grain color correction. Premiere Pro also integrates with other Adobe editing software, like Audition and After Effects, so Adobe's ecosystem grows increasingly valuable as you develop your skills.
HD Video Camera
Starter
Canon PowerShot G7 X ($599 for Mark II; $699 with accessories). The G7 X shoots full HD video up to 60fps, and has a medium focal range so you'll have solid-looking shots with the built-in lens. The viewfinder also rotates 180-degrees, giving you the ability to check your framing. Note: I have not used, but have received recommendations on this camera from trusted sources. Also, beware accessory packages on Amazon; I've heard a lot of negative feedback about the quality of the accessories. B&H Photo has a better package.
Intermediate
Sony Alpha A7S ii Mirrorless camera ($1,999) - The Sony Alpha A7 line is fantastic. I purchased the Sony Alpha A7R ii for travel photography, and now use it to record my on-camera presentations. The A7R ii is a great camera, but the A7S is specifically built for video and it is phenomenal. It is straightforward to use, but packed with advanced features, so it's a great option for getting started making videos, and will also grow with you as your skills progress. Sony was one of the first to the mirrorless market, so they are ahead of Canon in this category, and also come at a fraction of the cost. The Mark III line is brand new, so the Mark II line has come down in price. Pair with Sony FE 50mm f/1.8 Lens (discounted add-on to camera body at B&H) or Sony's Zeiss 24-70mm f/4 Zoom Lens (available bundled with the camera and accessories for $2,699 at B&H).
If you have a bit more budget and want the latest and greatest, choose the Sony Alpha A7S iii Mirrorless, but note it's quite a step up in price.
If you want to go with the Sony Alpha A7R ii Mirrorless like I did, you can get the camera body for around $1399.
Accessories
Tripod
Manfrotto Xtra 290 Aluminum Tripod with Fluid Video Head ($205). Manfrotto is the standard for high quality tripods. This model is a good medium point in terms of price and functionality. The height ranges from 12 inches to 65 inches, meaning you can mount it on your desk or shoot standing presentations. The ball head is easy to work with, gives you a lot of flexibility for positioning and leveling your shots.
Lights
Fovitec - 3-Light 3000W Fluorescent Lighting Kit for Photo & Video with 20"x28" Softboxes, stands, & Carry Case - For the money, this is a great lighting kit for getting started with shooting video at home. Each of the lights contains an array of 5 bulbs, with separate controls for groups of 2 and the single middle light, giving you granular control over the intensity of each light. The softboxes also provide nice diffusion. Assembly is relatively straightforward, and there are some YouTube tutorials that can fill in some of the gaps left by the written instructions.
Media Storage
SanDisk ExtremePro 128GB SD Card ($36.79) - These cards are blazing fast at transferring footage, and can hold a lot of footage. If you're shooting HD (1920x1080 at 17Mbps), you can store almost 1,000 minutes of video on the card, which should last you a while. If you're shooting 4K, that drops substantially (4K is 4X the resolution density of HD).
SanDisk 1TB Extreme Portable External SSD ($159) - External solid state drives (SSDs) are super helpful for storing your footage and editing without clogging up your computer's hard drive. I recommend getting two external SSDs: one for editing, and one for archiving footage. SSDs are a better option for editing because they're durable and lightning fast, meaning you can transfer footage from your SD cards quickly, and edit off an SSD nearly as well as on your computer's hard drive.
Additional Accessories
Backup battery ($53 for Sony Alpha A7 series) - Often when filming, the last thing you're thinking about is keeping your batteries charged. A fully charged backup battery has helped me countless times when I'm in the studio, in the middle of a session, and notice that the camera battery is at critical power. You can also consider getting a DC power supply, so you don't even have to think about battery levels.
Tenba BYOB 7 Camera Bag ($29) - A padded bag is essential for storing and transporting your camera. This bag has plenty of space for a zoom lens, SD cards, spare battery, and cables alongside your camera. If you want to transport your mic and stand as well, you'll want to consider an alternative case (and a bag for your stand and tripod). Pelican makes some high quality hard shell cases with dividers for transporting cameras, lenses, and mics.